THE ULTIMATE GUIDE TO PAVER BLOCKS
When it comes to enhancing the aesthetic appeal and functionality of outdoor
spaces, paver blocks are a popular choice. These versatile building materials are
known for their durability, variety, and ease of installation. Whether you’re
planning to revamp your driveway, patio, walkway, or garden, paver blocks offer
a practical and attractive solution. In this blog post, we’ll explore the benefits,
types, and installation process of paver blocks, helping you make an informed
decision for your next landscaping project.
1. Durability and Strength
Paver blocks are designed to withstand heavy
loads and extreme weather conditions. Made from concrete, clay, or
natural stone, they offer long-lasting performance, making them ideal for
driveways and high-traffic areas.
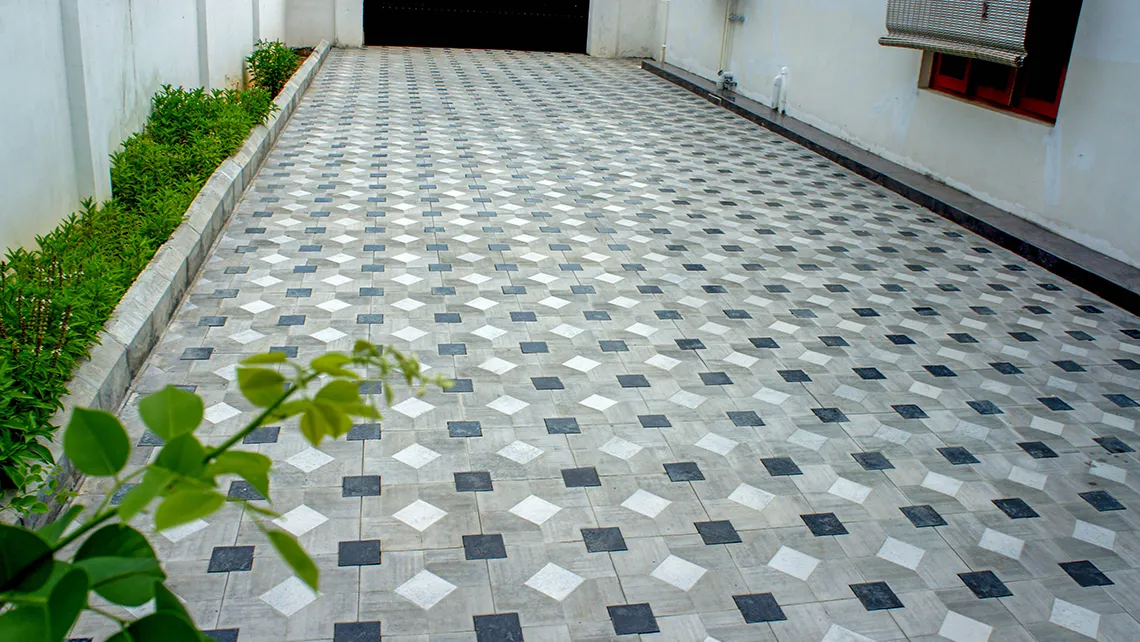
2. Versatility in Design
Available in a wide range of shapes, sizes, colors,
and textures, paver blocks can complement any architectural style.
Whether you prefer a modern, rustic, or traditional look, there’s a paver
block to match your vision.
3. Ease of Maintenance
Paver blocks require minimal maintenance.
Regular sweeping and occasional washing are usually enough to keep
them looking their best. In case of stains or damage, individual blocks can
be replaced without disturbing the entire structure.
4. Eco-Friendly Option
Many paver blocks are made from sustainable
materials and are designed to be permeable, allowing water to pass
through and reduce runoff. This helps in managing stormwater and
maintaining the natural water cycle.
5. Cost-Effective
Available in a wide range of shapes, sizes, colors,
and textures, paver blocks can complement any architectural style.
Whether you prefer a modern, rustic, or traditional look, there’s a paver
block to match your vision.
1. Planning and Design
Begin by planning the layout and design of your
project. Measure the area and choose the type and color of pavers that
best suit your space.
2. Preparing the Base
Excavate the area to a suitable depth, removing any
debris or existing materials. Lay a base layer of crushed stone or gravel,
and compact it to create a solid foundation.
3. Setting the Edge Restraints
Install edge restraints to hold the pavers in
place and prevent shifting. This is crucial for maintaining the integrity of
the design.
4. Laying the Pavers
Start laying the pavers from one corner, working your
way across the area. Place them close together, and use a rubber mallet
to tap them into place.
5. Filling the Joints
Once all the pavers are laid, spread sand over the
surface and sweep it into the joints. This helps lock the pavers in place and
prevents weeds from growing.
6. Compacting the Surface
Use a plate compactor to ensure the pavers
are firmly set into the base layer. This step also helps to even out the
surface.
7. Sealing
To enhance the longevity and appearance of your
paver blocks, consider applying a sealant. This adds a protective layer
against stains and weathering.
Paver blocks are an excellent choice for anyone looking to enhance their outdoor
spaces with a durable, attractive, and versatile solution. With a wide range of
options available, you can create stunning designs that reflect your personal
style. The installation process, while straightforward, requires careful planning
and execution to ensure long-lasting results. By investing in high-quality paver
blocks, you can transform your driveway, patio, or garden into a beautiful and
functional area that you’ll enjoy for years to come.
If you’re ready to start your next landscaping project, explore our collection of
premium paver blocks and find the perfect match for your vision. Happy paving!